The success of Facebook ads for Egyptian stores doesn't depend on budget size, but on tracking accuracy and understanding what happens after the click. This guide explains how to connect the Facebook Pixel, verify conversion events, and measure real sales—even with cash on delivery—so you can read the results inside Ads Manager and tie them to order statuses in your Trinavo store to make decisions based on data rather than impressions.
In e-commerce, the problem isn't launching the store or running the ads; it's that one moment that decides everything: when you ask yourself why traffic went up but sales didn't move.
The cause could be an unclear price, high shipping, an unconvincing product page, a cart that loses the customer at the final step, or orders closed over the phone and WhatsApp that never get recorded in your ad numbers. At that point, ad spend turns into an expensive experiment because you can't see where customers are leaking out or which product is actually making a profit.
This is why e-commerce stores in Egypt need a measurement system that connects three core links:
- The traffic source from the ad
- The customer's behavior inside the store, from viewing the product to completing the order
- A measurable result such as the number of purchases, their value, and the return on ad spend
In this guide, we'll build that system step by step, starting from the tracking foundation inside Meta using the Meta Pixel, then expanding measurement to reflect the reality of stores that rely on cash on delivery or close orders through direct contact, all the way to reading your sales numbers with confidence and making advertising decisions based on clear data rather than impressions. Keep reading!
What Is the Meta Pixel and Why Does Every Online Store Need It?
The Meta Pixel is a tracking tool you install on your website to record actions visitors take, such as viewing a product, adding to cart, or completing a purchase. These events enable you to:
- Measure the sales attributed to your ads inside Ads Manager.
- Automatically optimize campaigns toward people most likely to buy.
- Build retargeting audiences, such as people who added to cart but didn't finish.
How the Meta Pixel Works Inside Your Store from Start to Finish
The Meta Pixel isn't just a piece of code you install; it's a system that captures what a visitor does inside your store and turns it into events Meta can read inside Events Manager and then use to measure results and optimize ad delivery.
The more accurately your events are configured to reflect the buying journey, the more reliable your sales reports become, and the faster campaign optimization works with less budget waste.
Preparing Your Meta Accounts Before Installation
Before any code or plugins, make sure the foundation inside the Meta ecosystem is complete:
- Having a Business account and managing its permissions.
- Access to Events Manager to add a data source for your website.
- Connecting the data source to the ad account you'll run your campaigns from.
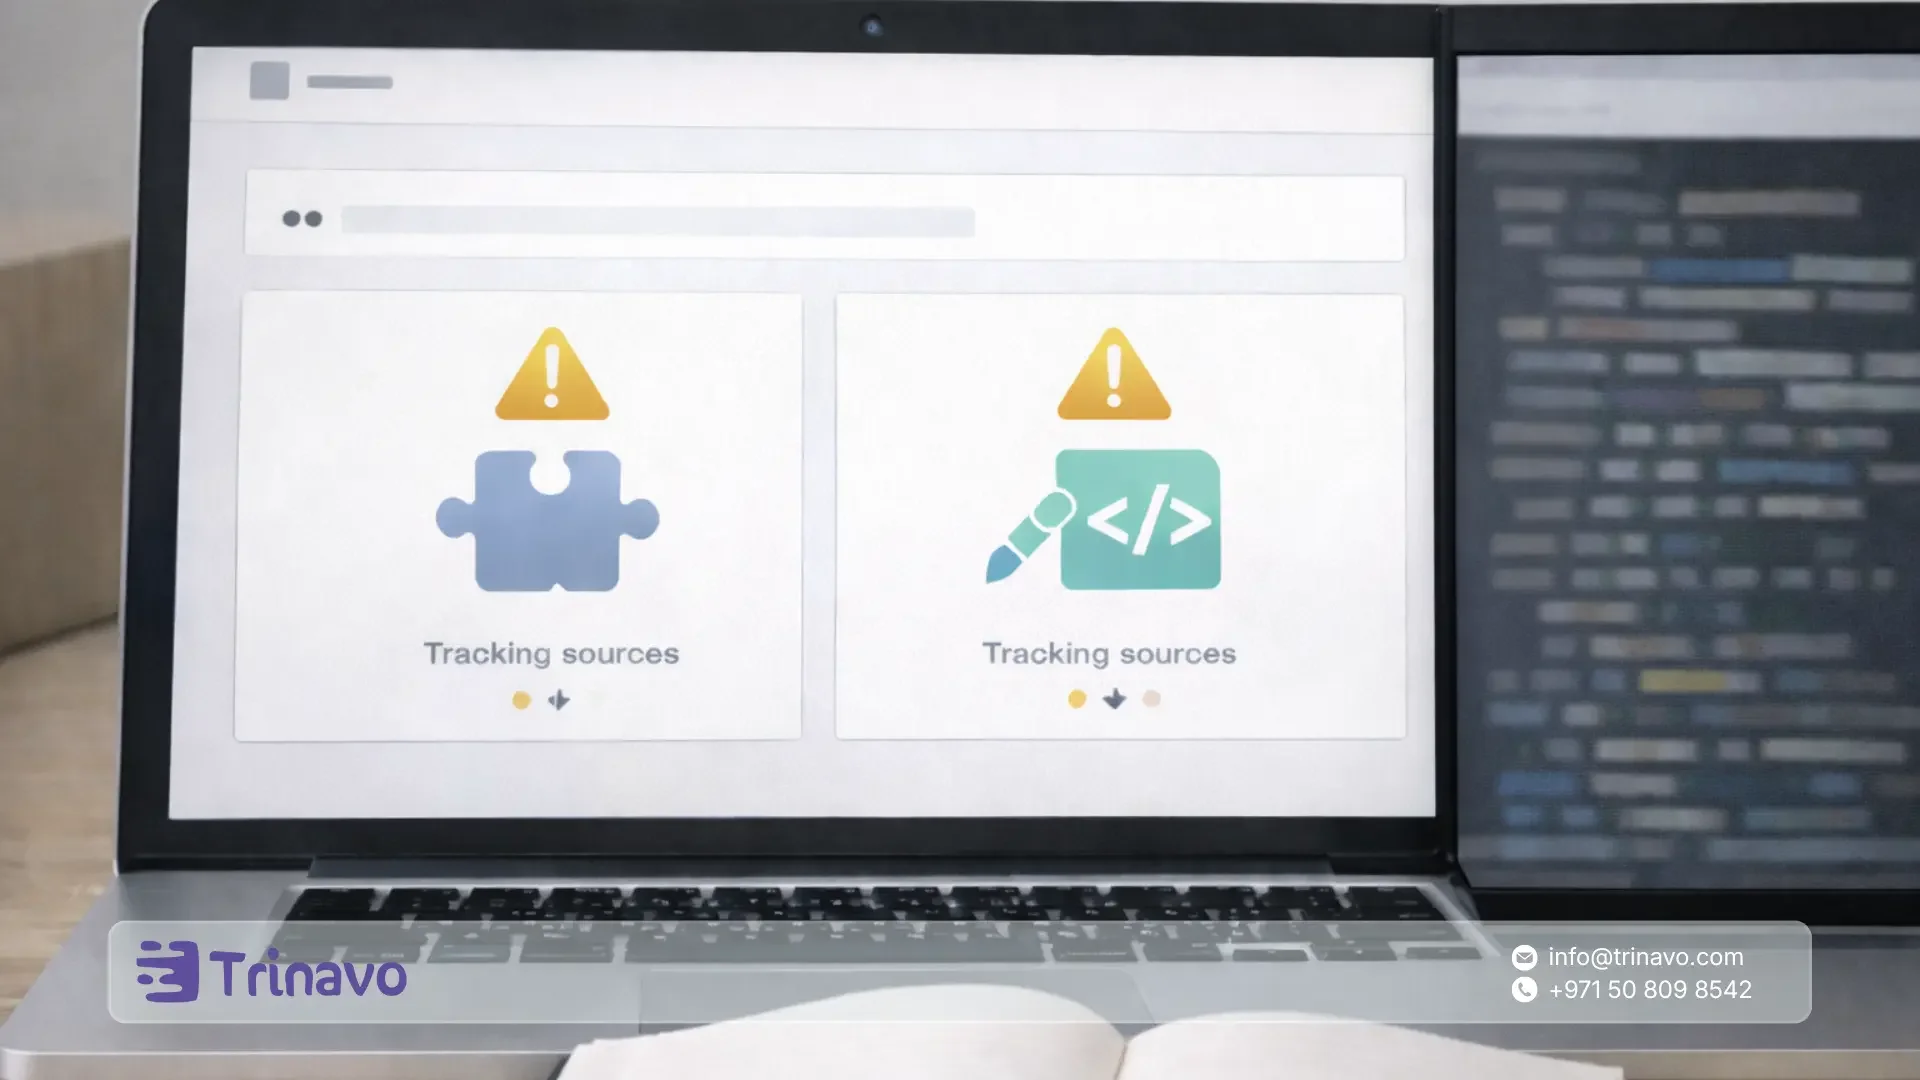
Choosing the Right Connection Method for Your Store
The connection method you choose depends on your store's platform and how it was built:
Option A: Ready-Made Integrations Through Platforms
This option is usually the easiest for non-technical merchants:
- If your store is on Shopify, you can add the Meta Pixel and manage your data-sharing level from the integration settings.
- If your store is on WooCommerce, there's official documentation for adding the Meta Pixel and connecting your store to Meta products through a dedicated plugin.
Option B: Manual Installation on a Custom Site
If you have a custom-built site, you'll install the pixel code manually and control events through code. Meta's guide explains how to install it and where to get the code.
Step-by-Step Meta Pixel Installation
These steps work for most stores, whether you'll use a ready-made plugin or a manual installation:
- Go to Events Manager inside Meta.
- Create a web data source, then choose to set up the Meta Pixel.
- Get the base pixel code and install it on your site, or enable it through your platform's integration.
- After installation, move on to verifying that events are arriving using the testing tools.
These steps are documented in Meta's pixel setup and installation guide.
What the Pixel Must Track at a Minimum Before You Think About Sales
Before any advanced setup, there are two basics you must confirm:
- The pixel is installed on every page of the store, not just on a single page
- The pixel records page views as an initial signal that it's working
This step is the starting point on which you build the rest of the events, such as Add to Cart and Purchase.
The Core Events You Should Track to Measure Sales Accurately
Standard events are predefined names Meta uses to optimize ads and measure results. For online stores, the practical minimum is:
- Page view
- Product view (View Content)
- Add to cart
- Initiate checkout
- Purchase
The official list of standard events is available in the Meta Help Center, which you can review there.
How to Choose the Most Important Events
- If your goal is sales, the most important event to optimize and measure is the Purchase event.
- The events leading up to it matter for understanding drop-off within the buying funnel and enabling retargeting.
Configuring the Purchase Event So Sales Value Shows, Not Just the Count
The most common reason reports become misleading is recording the Purchase event without sending the order value and currency. To ensure sales value and return on ad spend appear:
- Enable sending the order value within the Purchase event.
- Set the currency to match your store, such as the Egyptian Pound.
- Make sure the value is sent as a proper number representing the order total or cart total, depending on your definition.
Meta emphasizes the importance of setting value and currency for conversion events to measure return and optimize for value.
Setting Up Events Without Code Using the Event Setup Tool
If the Meta Pixel is already installed on your store but you don't want to edit code or go back to a developer every time, you can use the Event Setup Tool inside Events Manager to connect standard events to clear actions on your store's pages, such as clicking the Add to Cart button or reaching the order confirmation page.
The idea is simple: you open your store inside the tool, choose the action you want, and then define it to Meta as the appropriate event.
Before You Start
Confirm two things:
- The pixel is installed and receiving page views.
- You have access to Events Manager in your Business account.
Step-by-Step Code-Free Setup
- Go to Events Manager in Meta.
- Select your website's data source, then choose the pixel.
- From the Add Events option, choose to open the Event Setup Tool.
- Enter the URL of the page where you want to set up the event, such as a product page or cart page.
- Open the page inside the tool, and a small setup window will appear over the site.
From here, you have two main code-free methods to connect events.
Method One: Linking the Event to a Button Click on the Page
This method suits events such as Add to Cart and Initiate Checkout.
- Inside the tool, choose to track an action by click.
- Click the button you want on the page, such as the Add to Cart button.
- Choose the appropriate standard event from the list.
- Save the setup.
When is it great?
- When the button is clear and stable and its position or name doesn't change within the template.
When might it cause inaccurate measurement?
- If you select an element other than the actual button, or if there's more than one similar button on the page.
Method Two: Linking the Event to a Specific Page Visit
This method suits cases where you have a page confirming a completed step, such as the order confirmation page or thank-you page.
- Inside the tool, choose to track an event on page load.
- Define a rule based on the page URL, such as containing a fixed segment that indicates a successful order.
- Link the rule to the appropriate standard event, such as Purchase.
- Save the setup.
When is it great?
- When the confirmation page is stable, clear, and different from the rest of the pages.
When might it be inaccurate?
- If the store doesn't have a distinct confirmation page, or if the page URL changes with every order in a way that doesn't allow a fixed rule.
What to Do After Saving to Make Sure Everything Is Correct
- Run a full journey as a real customer: open a product, add it to cart, and complete the flow through to the confirmation page.
- Watch in Events Manager that the event fires only at the right moment, and not on any other clicks or unintended pages.
A Practical Summary
- If you want to track store buttons, use click-based linking.
- If you want to track a confirmed step such as order confirmation, use linking by specific page visit, provided the page is stable.
Steps to Verify Tracking Works Before Running Any Ad Campaign
Before you spend on ads, run a real test of the entire buying funnel:
First: Using the Test Events Tool Inside Events Manager
- Open the Test Events tab.
- Make an actual visit to your store from the browser.
- Add a product to cart, then proceed to checkout through to the order confirmation page.
- Watch the events arrive in order.
The Test Events tool is officially documented in the Meta Help Center.
Second: Using the Meta Pixel Helper Browser Extension
This extension helps you see events and alerts directly while browsing your store's pages.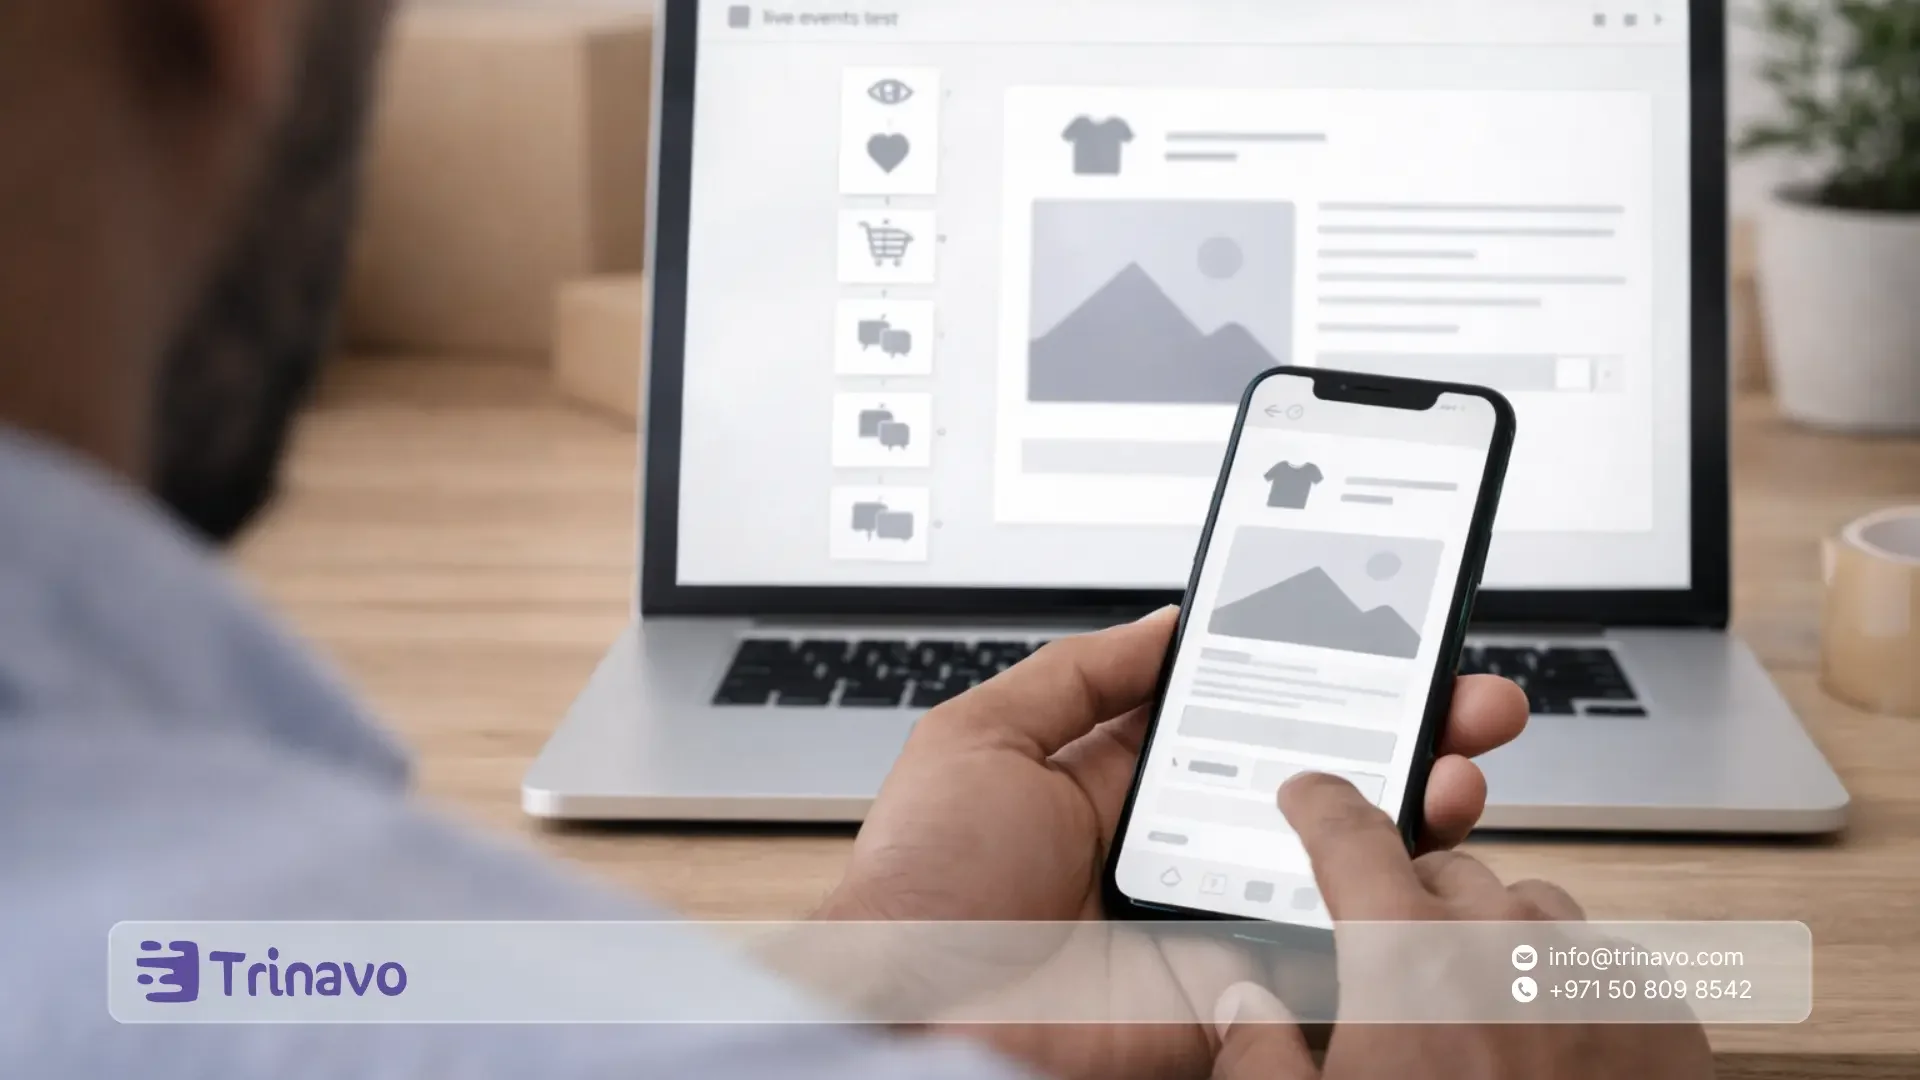
Common Pixel Mistakes That Lead to Misleading Results and How to Fix Them
- Duplicate pixel installation: This happens when you enter the pixel ID in the platform and also paste the code manually into the template. As a result, an event may be recorded twice, inflating the numbers and distorting cost per purchase and return. Use the Pixel Helper to detect duplicate codes and events.
- The Purchase event works but without value or currency: You'll read sales incompletely or in a way that can't be compared. Make sure to set the purchase value and currency inside the Purchase event.
- The Purchase event fires on the wrong page: Such as firing when the checkout page opens or when a generic thank-you page opens. The fix is to re-link the event to a clear confirmation page or to a correct action within the buying funnel.
Solving Common Problems Through Diagnostics Inside Events Manager
If you notice purchases not showing up, showing up twice, or arriving incomplete, start from the Diagnostics tab:
- Open the Diagnostics tab inside Events Manager.
- Review the warnings and errors.
- First fix the errors that prevent the Purchase event from arriving or prevent its value from being sent.
- Re-test until the critical errors disappear.
Meta provides a Diagnostics tab and an official list of the most common errors and warnings and their causes.
Improving Measurement Accuracy with the Conversions API
Over time, you'll notice that browser-based tracking alone may lose part of the data due to privacy settings or tracker blocking. This is where the Conversions API proves valuable, because it sends some conversion events to Meta directly from the server.
How to Start Without Complexity
- If you're on Shopify, use the data-sharing settings in the integration to enable sending more stable data in line with your store's settings.
- If you're on WooCommerce, review the official documentation that mentions Meta Pixel and Conversions API support within the plugin.
Preventing Duplicate Sales Recording When Combining the Pixel and the Conversions API
When running the pixel and the Conversions API together, you must set up deduplication via the event_id so the same action isn't counted twice. Meta explains the requirement that the event ID match between both sources for deduplication.
Improving Match Accuracy Through Advanced Matching
If your goal is to raise attribution accuracy and build better audiences, you can enable advanced matching so that identifying data is sent in encrypted form when the customer enters it, such as email or phone, depending on your settings.
This improves Meta's ability to match conversions to accounts, which is especially useful when browser data is limited.
Verifying Your Domain and Prioritizing Web Events
If you target users on modern systems and want to improve measurement, you'll need to configure Aggregated Event Measurement along with verifying your site's domain:
- Add your store's domain in Business settings, then verify it.
- After verification, configure Aggregated Event Measurement and prioritize the important web events, with Purchase at the top.
Meta explains the steps for domain verification and describes Aggregated Event Measurement and why it was introduced.
Custom Conversions When Standard Rules Don't Fit You
Sometimes you have an unconventional buying funnel, an unclear confirmation page, or you want to define a conversion based on a specific condition. This is where you use custom conversions, which let you create rules based on an event or a page URL to count as a conversion.
Meta's official documentation explains custom conversions and how they serve your advertising goals.
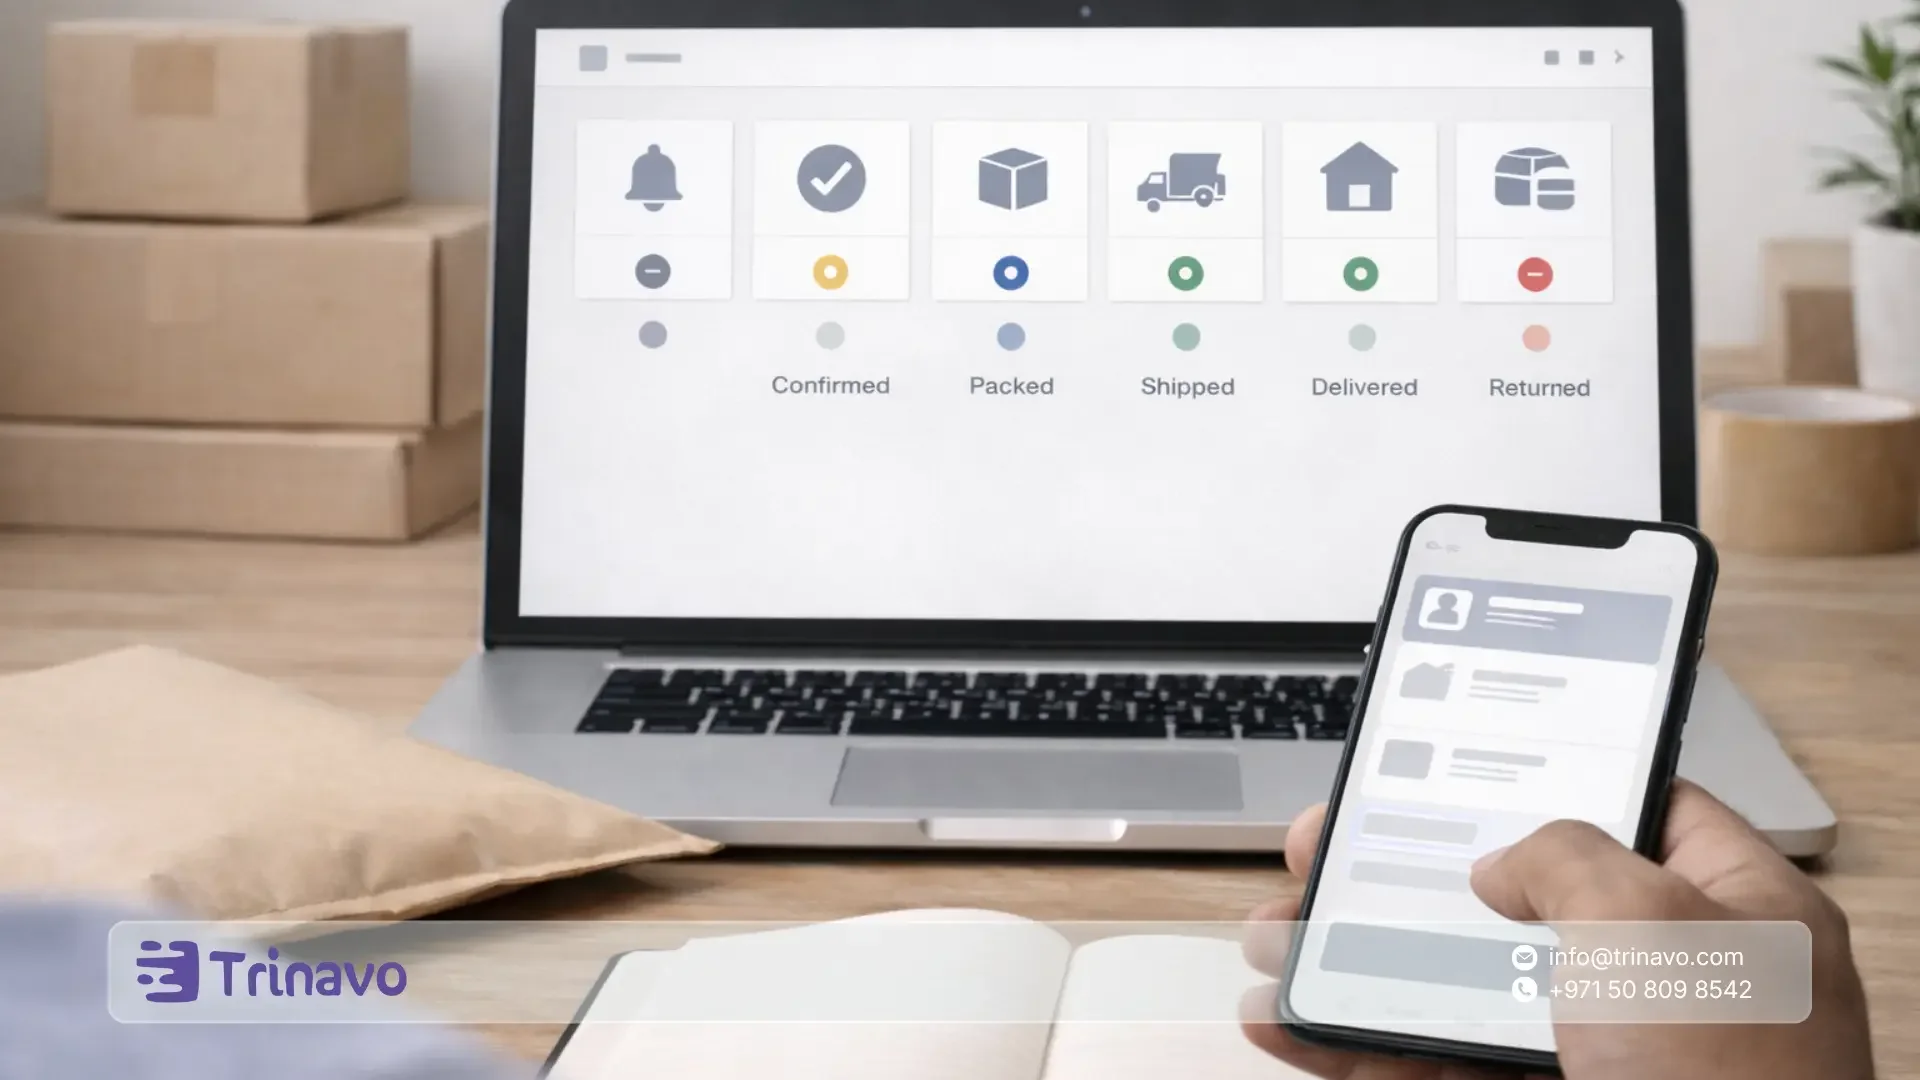
Measuring Cash-on-Delivery Sales and Phone and WhatsApp Orders
In the Egyptian market, a large share of orders may be completed off-site or after contact. If sales close over the phone, through messages, or at a point of sale, you can use offline events to connect these sales to your ads.
- Create an offline event set inside Events Manager.
- Collect the order data needed for matching, such as purchase time, value, and customer data, as your policies permit.
- Upload the data using the method available to you, then watch the results appear in your reports.
Meta explains the concept of offline conversions and how to use them to measure real results such as phone orders and off-site purchases.
How to Read Sales Reports in Ads Manager Without Confusion?
For the merchant, there are three layers you must distinguish between:
- The number of purchases attributed to ads
- The value of purchases attributed to ads
- The return on ad spend
These metrics won't be accurate unless the Purchase event sends the value and currency.
Why Do Meta's Numbers Differ from Your Store Dashboard?
The difference is usually normal, because Meta uses attribution settings that determine when a purchase is attributed to an ad, while your store dashboard shows total actual sales regardless of their source. Meta explains attribution settings and how to customize them.
Unifying Measurement with Google Analytics via Campaign Tracking Parameters
Even if your Meta tracking is set up correctly, you'll need an additional reference inside Google to compare traffic sources. The best practical practice is to use campaign tracking parameters in your ad links.
Simple steps:
- Create the base ad link for the product page or landing page.
- Add the core tracking parameters such as campaign source, medium, and name.
- Review the traffic acquisition reports inside Google Analytics to compare channels.
Google's official guide explains the URL builder tool and campaign tracking parameters.
Compliance and Privacy When Collecting Data and Sending It to Ad Platforms
Tracking is a legal and operational responsibility, especially when sending customer data. Among the points you must adhere to:
- Complying with Meta's Business Tools Terms regarding processing contact data and encrypting it when required.
- Avoiding sending data that isn't permitted or isn't necessary for measuring conversions.
- Documenting your store's privacy policy to clarify your use of measurement and advertising tools.
Meta's Business Tools Terms include important requirements such as encrypting contact data in certain cases.
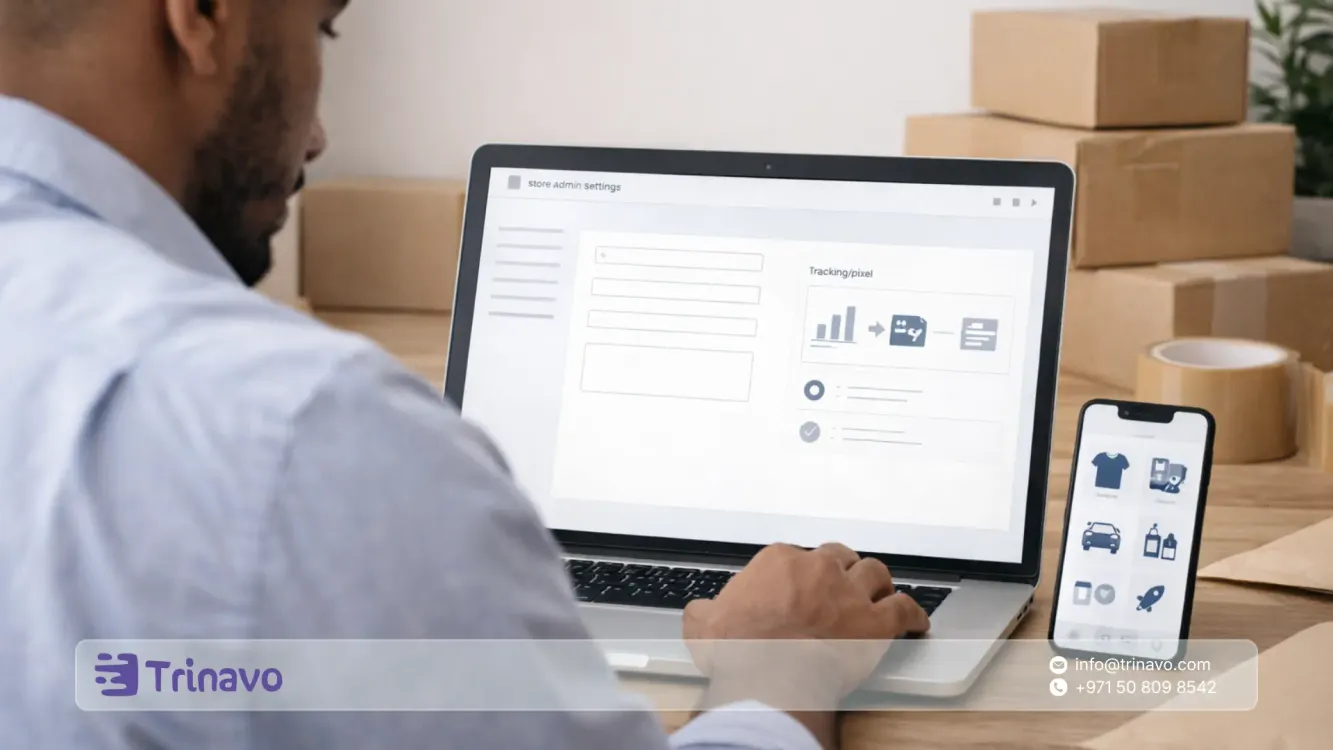
Meta Pixel Integration in Trinavo to Measure Sales and Optimize Facebook and Instagram Ads
When you enable the Meta Pixel integration inside Trinavo, you connect your store directly to Meta's advertising ecosystem so customer behavior inside the store is tracked and turned into clear measurement data you can rely on to know which ads generate real sales, build retargeting audiences, and then optimize campaigns to reach people more likely to buy.
This integration is designed to be fast and free of technical complexity, because Trinavo automatically handles tracking the core e-commerce events after you enter the pixel ID.
To enable the integration on Trinavo, follow these steps:
- Create a Meta Pixel inside Facebook Business Manager.
- Copy the pixel ID or the full code.
- Paste the data into the Trinavo dashboard in the Integrations or Tracking section.
- Tracking starts automatically for the core events inside the store, the most important being page view, view content, add to cart, initiate checkout, and purchase.
This way, you have a stable measurement foundation for your sales campaigns, and you can use the resulting data to measure conversions, build custom audiences, and improve ad campaign performance without needing a developer or complex setup.
Start now by creating your store on Trinavo and enable the Meta Pixel integration from the dashboard in minutes, so you can measure sales accurately and optimize your campaigns based on real data from your very first ad.
A Quick Checklist Before Launching a Sales Campaign
Use this checklist as a final step:
- The pixel is installed and shows no errors via the Pixel Helper.
- The core events arrive in the correct order, from product view to purchase.
- The Purchase event sends the order value and currency.
- There are no critical errors or warnings in Diagnostics.
- The domain is verified, Aggregated Event Measurement is configured, and Purchase is prioritized.
- If you have noticeable data loss, consider enabling the Conversions API with deduplication set up.
- Your ad links include campaign tracking parameters to read results in Google Analytics.
Frequently Asked Questions About Connecting the Meta Pixel and Measuring Store Sales
1. Does the Event Setup Tool completely free me from coding?
The Event Setup Tool helps you add events and parameters to your site without editing code, but it isn't a complete substitute for ready-made integrations or custom development in every case.
If your store relies on complex dynamic pages or you want precise measurement of order value and cart contents, you may later need a deeper integration.
2. What's the difference between installing the pixel and setting up events without code?
Installing the Meta Pixel means placing the base tracking code on the store so it starts recording page views. Setting up events without code, on the other hand, means linking specific actions inside the store, such as clicking the Add to Cart button or reaching the order confirmation page, to standard events inside Meta.
3. What are the practical steps to set up an event without code using the Event Setup Tool?
Follow this concise, clear path:
- Open Events Manager inside Meta Platforms.
- Select your website's data source, then choose the pixel.
- Choose Add Events, then open the Event Setup Tool.
- Enter the URL of a page from your store and open it inside the tool.
- Choose the appropriate connection method: linking by button click or linking by page visit.
- Save the setup, then test that the event appears using the Test Events tool.
4. Which method is better: linking the event to a button click or to a page visit?
- Click-based linking suits clear, stable buttons such as Add to Cart and Initiate Checkout.
- Page-visit linking suits cases where you have a stable, distinct order confirmation page.
Choose the method that reduces the chances of incorrect recording, because a change in page design or the presence of similar buttons may cause the event to fire in the wrong place.
5. What are the most important standard events every online store should have?
The standard events that measurement and optimization typically rely on include view content (product view), add to cart, initiate checkout, and purchase. Having the Purchase event specifically is the foundation for measuring sales inside Ads Manager.
Connecting the Meta Pixel is the beginning of measurement, not its end. Real success begins when you define the Purchase event correctly, send it with its value and currency, then verify it arrives and fix diagnostics, and improve stability via the Conversions API when needed. With these steps, you'll have a reliable measurement dashboard, and budget decisions will be based on actual sales rather than estimates.


