Push Notification Settings
Overview
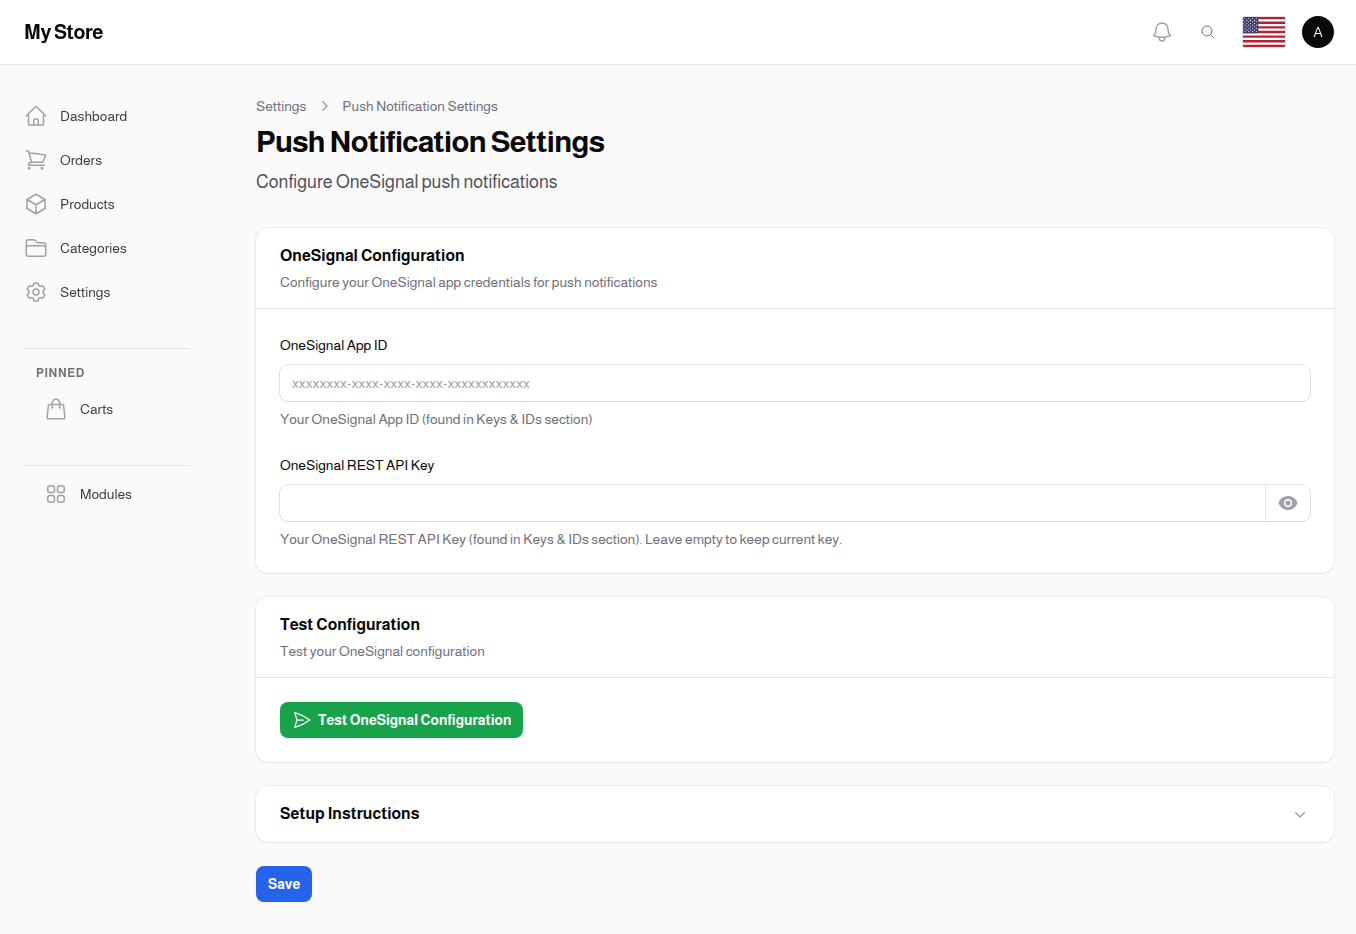
Push Notification Settings configures OneSignal integration for sending push notifications to your mobile app users. This allows you to send order updates, promotions, and other important messages directly to customer devices.
Note: This settings page is only visible to maintainer IPs.
Accessing Push Notification Settings
Navigate to: Settings > Push Notifications from the sidebar menu
Automatic Setup (Maintainer Only)
If you are a maintainer, you can set up OneSignal automatically without manually copying credentials.
Setup OneSignal Automatically
- Type: Action button
- Visibility: Only visible to maintainer IPs
- Purpose: Automatically create and configure a OneSignal app for this store
How to Use:
- Click Setup OneSignal Automatically
- A confirmation dialog appears with a Site URL field pre-filled with your store's URL
- Verify the URL is correct (must be HTTPS for production)
- Click Setup
- The system creates a OneSignal app and fills in the credentials automatically
Notes:
- This button is disabled if OneSignal is already configured
- The Site URL should be your production store URL (e.g.,
https://mystore.com) - After automatic setup, the App ID field is filled automatically
OneSignal Configuration
OneSignal App ID
- Type: Text input
- Format: UUID (xxxxxxxx-xxxx-xxxx-xxxx-xxxxxxxxxxxx)
- Purpose: Unique identifier for your OneSignal application
- Where to Find: OneSignal Dashboard → Settings → Keys & IDs → App ID
OneSignal REST API Key
- Type: Password input (revealable)
- Purpose: API key for sending notifications programmatically
- Where to Find: OneSignal Dashboard → Settings → Keys & IDs → REST API Key
Security Features:
- Hidden when typing
- Revealable with eye icon
- Empty when editing (keeps existing if left empty)
Security Note: Keep this key confidential. Anyone with this key can send notifications to your users.
Test Configuration
Test OneSignal Configuration
- Purpose: Verify OneSignal integration works
Process:
- Click "Test OneSignal Configuration" button
- System attempts connection to OneSignal API
- Shows success or error message
Success Response: Shows the connected app name
Requirements: Valid App ID and REST API Key must be entered and saved first.
Setup Instructions
Step 1: Create a OneSignal Account
- Visit onesignal.com
- Create a free account
- Verify your email address
Step 2: Create a New App
- Click "New App/Website" in your OneSignal dashboard
- Enter your app name
- Select platform (iOS, Android, or both)
- Follow the setup wizard for your platform
Step 3: Get App ID
- Go to Settings → Keys & IDs in OneSignal dashboard
- Copy the "OneSignal App ID" field
- Paste into this settings page
Step 4: Get REST API Key
- In the same Settings → Keys & IDs page
- Copy the "REST API Key"
- Paste into this settings page
Step 5: Test and Save
- Click Save to store your credentials
- Click "Test OneSignal Configuration"
- Verify you see a success message with your app name
OneSignal Use Cases
Once configured, OneSignal enables:
Order Updates
- Notify customers when order status changes
- Send shipping and delivery notifications
- Confirm order placement
Marketing Promotions
- Send promotional notifications about sales
- Announce flash deals and limited offers
- Promote new product launches
Inventory Alerts
- Notify when out-of-stock items return
- Alert about low stock items
- Back-in-stock notifications
Engagement
- Abandoned cart reminders
- Review request notifications
- Loyalty points updates
Saving Changes
Click the Save button at the bottom of the page to apply your changes. Always test the configuration after saving.
Related Sections
- Mail Settings - Email notification configuration
- OneSignal Notifications - Send notifications to users
- Mobile App Settings - Mobile app configuration