Virtual Items
Virtual Items are individual digital goods or codes that belong to Virtual Item Lists. Each virtual item represents a unique code, key, or digital product that can be delivered to customers. Virtual items are essential for managing digital inventory such as gift cards, license keys, vouchers, and promotional codes.
Overview
Virtual Items serve as:
- Individual digital products that can be sold through your store
- Codes and keys for gift cards, licenses, and promotions
- Inventory tracking for digital goods
- Redeemable content that customers receive upon purchase
Each virtual item belongs to exactly one Virtual Item List and inherits the encryption settings of that list for security.
Accessing Virtual Items
Click Modules → Catalog Management → Virtual Items
Understanding Virtual Items
Virtual Item Properties
Each virtual item contains:
- Virtual Item List: The parent list this item belongs to (inherited from creation)
- Code: The unique code or key (e.g., gift card code, license key) - max 50 characters
- Info: Additional information about the item (e.g., product details, value, expiry)
- Used: Boolean flag indicating if the item has been redeemed or used
Item Lifecycle
Virtual items follow this typical lifecycle:
- Created: New item added to the Virtual Item List as available inventory
- Available: Item ready for customer purchase or fulfillment
- Used: Item marked as used after customer redeems or activates
- Archived: Item remains in system for audit trail
Managing Virtual Items
Reviewing Items
The Virtual Items list displays:
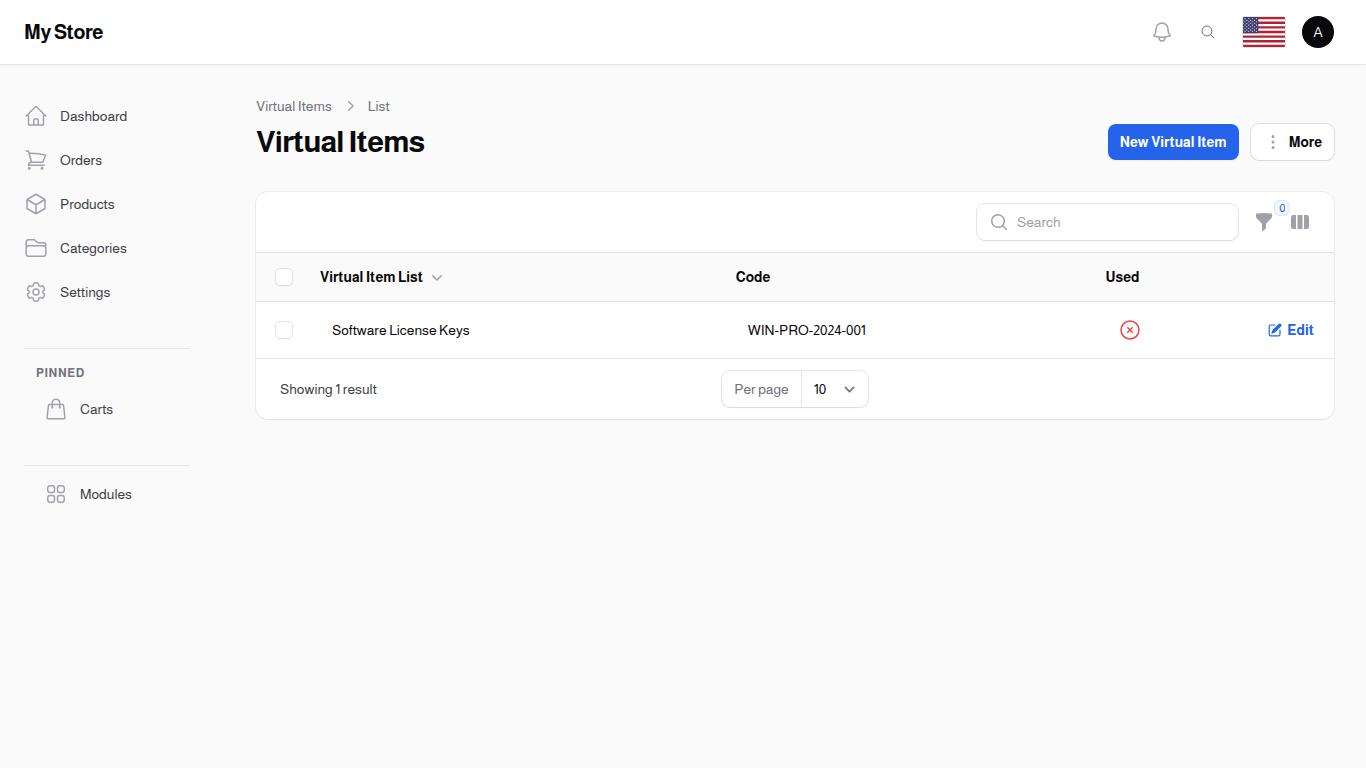
- Virtual Item List ID: The parent list's numeric ID
- Code: The actual code/key for the item
- Used: Icon showing if the item has been used (clickable toggle)
- Created At: Timestamp when item was created (hidden by default)
- Updated At: Timestamp of last modification (hidden by default)
Creating a Virtual Item
To create a new virtual item:
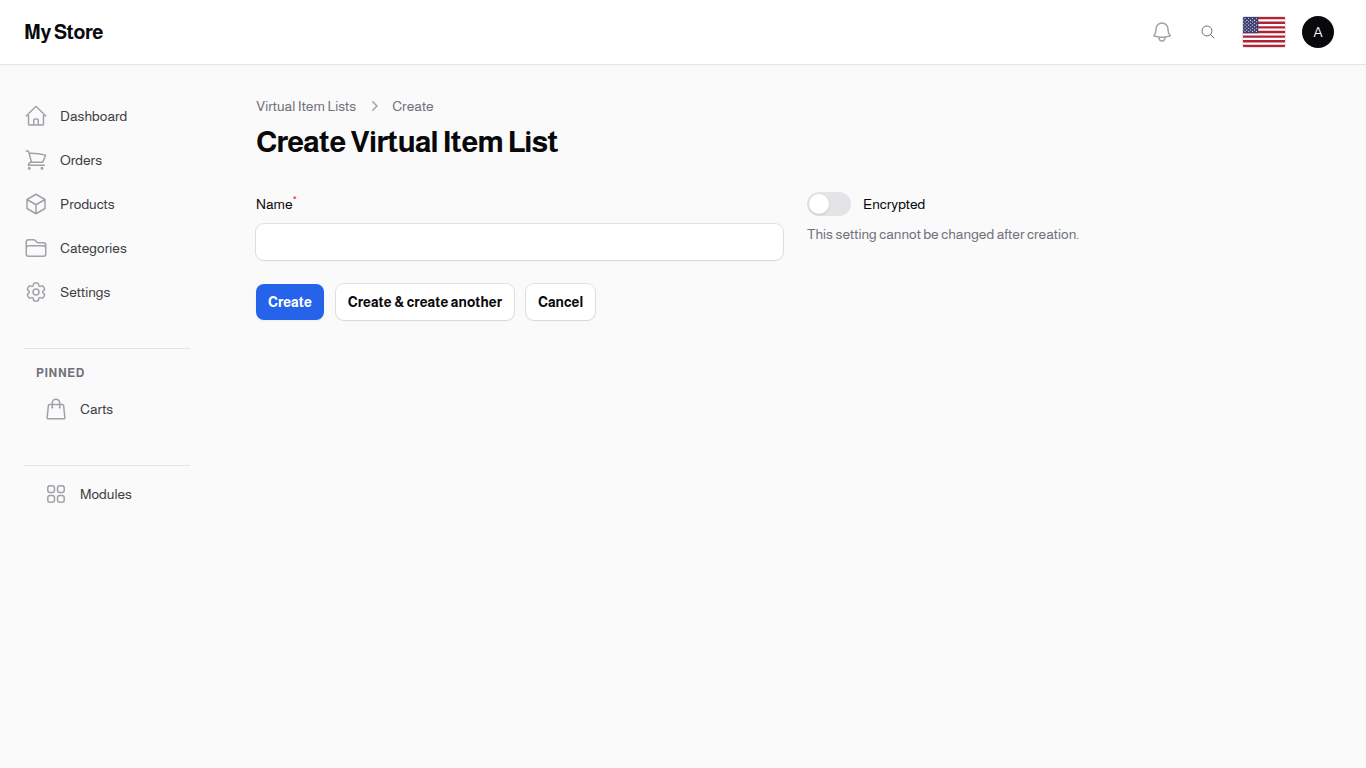
- Click the New Virtual Item button at the top right - a small window opens over the list, so you keep the search and filters you were working with
- Pick the Virtual Item List the code belongs to
- If the list does not exist yet, use the + button beside the field to create it without leaving the form
- Enter the Code (required, up to 50 characters)
- Examples: "GC-2024-001", "LICENSE-ABC123", "VOUCHER-PROMO"
- Should be unique and easy to track
- Can include alphanumeric characters and dashes
- Enter the Info (required, text area for additional details)
- Examples: "Holiday Gift Card - $100 value", "Software License - 1 year", "Promo code - 20% off"
- Include any relevant metadata or notes
- Toggle the Used status
- Disabled (default): Item is available for customer purchase
- Enabled: Mark item as already redeemed or used
- Click Create to save the item
- Click Create & create another to save and immediately add the next code, which is the fastest way to paste in a batch
- Click Cancel to discard changes and close the window
Importing a Batch of Codes
A supplier usually sends codes as a file, and typing them in one by one is how a batch ends up half loaded. To load the file:
- Click More at the top right → Import
- Upload the file (CSV or Excel). A single column of codes is enough
- Pick the Virtual Item List the codes go into. A row that names its own list overrides this choice, and a name that matches no list is reported as a failed row rather than filed in the wrong place
- Choose what to do with codes that are already there: create new ones only, update existing ones only, or both
- Click Import. The codes are loaded in the background and you are notified when it finishes
If a row has no info of its own, the code is used as the info, so the customer receives the code itself.
Editing Virtual Items
To modify an item:
- Click the Edit button in the Actions column - a small window opens over the list
- Update any fields as needed:
- Change the parent Virtual Item List
- Update the code (use caution if code is already distributed)
- Modify the info description
- Change the used status
- Click Save to apply changes
Important: Changing the code after it's been given to a customer can cause fulfillment issues. Proceed with caution.
Marking Items as Used
Items can be marked as used in two ways:
Method 1: Quick Toggle from List
- Click the Used icon/button in the list view
- The status toggles immediately between used and unused
- No form navigation required
Method 2: Through Edit Form
- Click Edit for the item
- Toggle the Used switch
- Click Save
Use the quick toggle method when you need to quickly mark multiple items as used.
Bulk Marking Items as Used
While there's no bulk status change action, you can:
- Use the checkbox to select multiple items
- Click Edit for each item to toggle status individually
- Or export the list, manually update used status in a spreadsheet, and re-import if supported
Deleting Virtual Items
To remove an item:
- Click the Delete button in the Actions column
- Confirm when prompted
Important: Deleting a virtual item is permanent. A code that has already been delivered on an order cannot be deleted at all - the store tells you so and keeps it, because the order it was sent on still refers to it. Consider marking a code as used instead.
Searching and Filtering
Search Functionality
Use the search box to find virtual items by:
- Code: Search by exact or partial code (e.g., search "GC-2024" to find all codes starting with that prefix)
- The system searches all code values in real-time
Sorting
Click on column headers to sort:
- Virtual Item List ID: Sort by parent list
- Code: Alphabetical order of codes
- Used: Group by used status
Click headers again to reverse sort order.
Column Management
Click the Toggle columns button to show or hide:
- Virtual Item List ID
- Code
- Used
- Created At
- Updated At
Hide columns you don't need to simplify your view.
Bulk Actions
Select multiple items using the checkboxes, then use:
- Delete bulk action: Remove multiple items at once (use carefully!)
- Export bulk action: Export selected items to a file for backup or analysis
To select all items on the current page, use the checkbox in the table header.
Pagination
Use pagination controls to:
- Change items per page (5, 10, 25, 50, or All)
- Navigate between pages
Related Sections
- Virtual Item Lists - Group virtual items
- Products - Product management